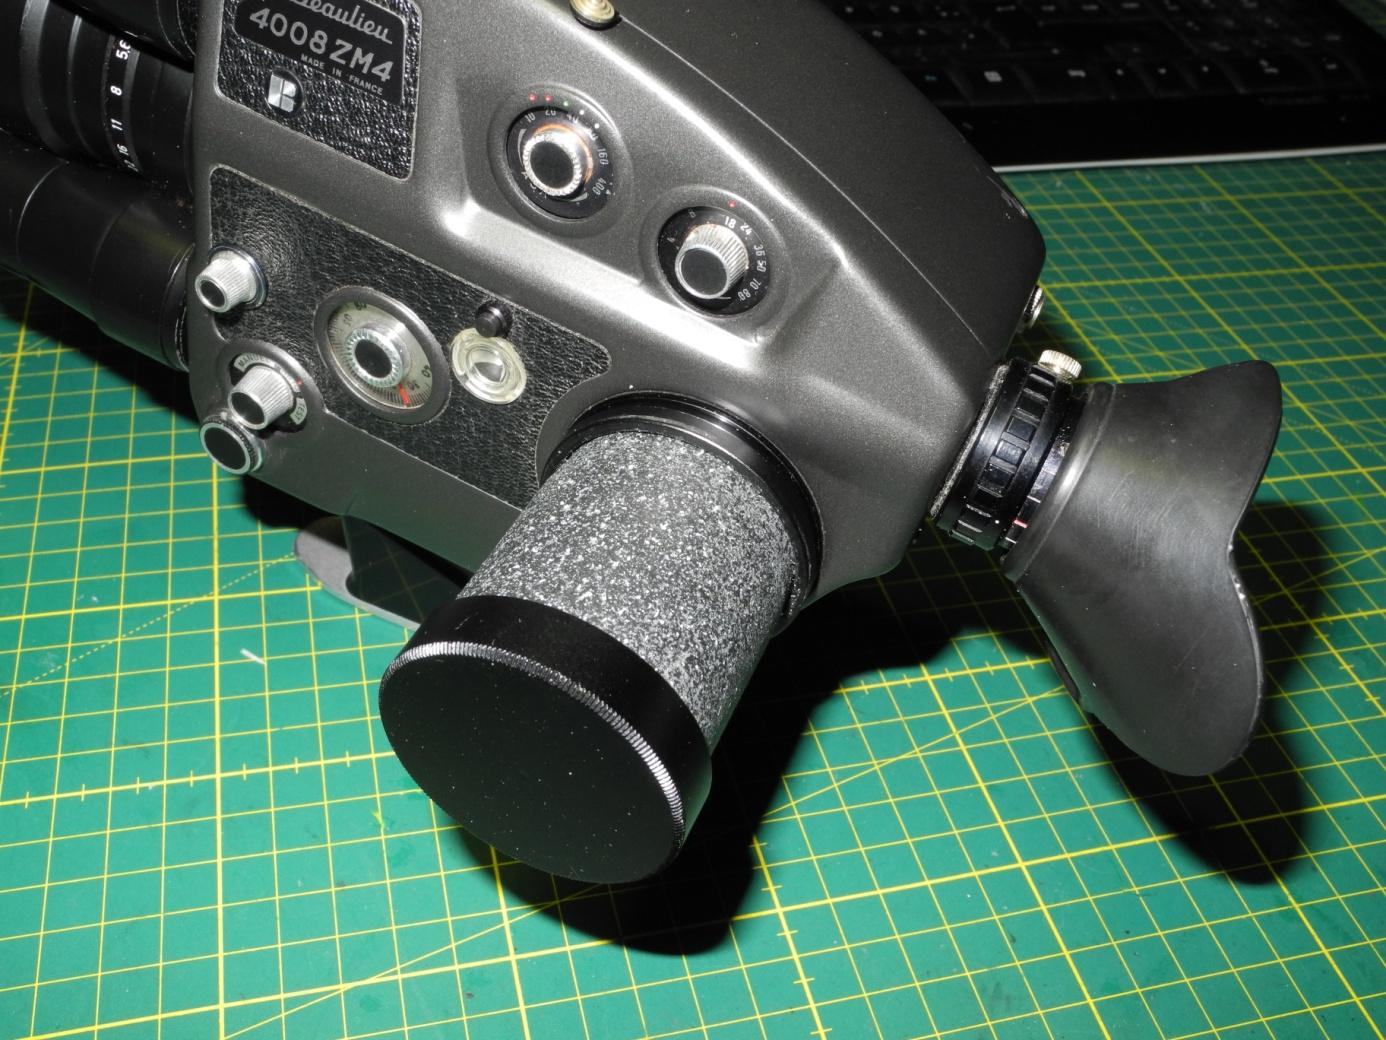
Some time ago I built a 12 V battery for the Bolex ESM handle from a 2″ drain pipe for a forum member because, among other things, the original large button cells were no longer available. Back then I already had the idea of building a screw-in battery with LiPo cells for the Beaulieu 4008, as the original ones are usually defective and can hardly be opened to replace the cells due to corrosion. Replicas from Wittner are great, but crazy expensive.
The battery should not be significantly larger than the original, and it should be possible to change the cells “on location” so that you can carry a replacement in your pocket. And a little more capacity wouldn’t hurt either.
A 40 mm adhesive fitting, a 4 cm drain pipe, a 42 x 0.75 mm to 40.5 x 0.75 mm step-down ring (filter adapter), a lens cap with M42 internal thread and an M39 to M42 adapter ring were used. See the list below for details.
I used two 14500 lithium batteries in the exact shape of a Mignon (AA) cell with 1600 mAh, which can be charged externally in a charger.
The round contact plate was cut out of a copper-clad epoxy plate (PCB) with a circle cutter (1.5″), I will come to the production of the contact rings later. Finally, a battery holder for two cells, some superglue, wire and, of course, a soldering iron are still missing.
Material
- Adhesive fitting, 40 mm
- 40mm HT pipe: DIY store
- Copper-clad epoxy board (PCB): electronics retailers like Mouser, Digikey, or a hardware store. etc.
- Stepdown ring
- Step-up ring 39 to 42 mm
- Lens cap M42
- Lithium batteries with charger
- Battery holder (model 2xAA “Wired back to back”)
About 1.25 mm of the wall must be removed from the outside of the 40 mm adhesive fitting, otherwise it will not fit into the battery slot of the camera – unproblematic because it is thick-walled. I did this easily after placing the fitting on the chuck of the drill, which I misused as a “makeshift lathe”. With a layer of masking tape in between, the fitting sat firmly enough on the chuck so that after centering I was able to reduce the diameter to 37.5 mm with sandpaper while the machine was running. Fits already.
The contact disk is first cut out of a copper-laminated epoxy or Pertinax plate with a circle cutter, 37 mm (1.5″). The contact rings can then be produced in the classic photo-technical way using an exposure or etching process, but this is time-consuming. I glued the washer onto the fitting, put it back on the drill chuck, centered it and turned off the insulating gaps with the new blade of a carpet knife while the drill was running. An existing original battery was used as a template. The mark on the inside is made with the blade, which is then slowly pulled outwards while milling. Works surprisingly well and turned out quite precise. Drill three holes for the cables to be soldered on later.
The adhesive fitting with the glued-on contact plate is now shortened to exactly 27 mm, at the top it is turned off in the described manner to a width of approx. 5 mm so that it fits into a 45 mm long piece of a 40 mm HT pipe. This HT pipe must also be ground down again by a few millimeters on the outside so that the filter adapter can be fitted there. When plugged together, the distance between the edge of the filter adapter and the contact plate must be 25 mm, otherwise the battery cannot be screwed in or there will be contact problems. This requires a bit of fiddling, but as the plastic is easy to work with, it is quite easy in the end.


The battery holder must be fitted with an additional cable for the center tap, blue in the picture. The cables are then soldered to the contact plate, the central spot is the positive pole, followed by -3.6 V and -7.2 V resp. ground. The camera easily tolerates the slightly higher voltage of 8.2-8.4 V.
Finally, everything is plugged together, the cells are inserted, the battery screwed in, test run. All functions work perfectly.

The battery is now given a coat of dark gray textured paint to make it look nice. Glue on the threaded ring for the screw cap, done.
And now it would be great if someone here could print the battery housing in the 3D printer with the step for the filter adapter and a screw cap so that only a contact plate (milled, etched or made in China?) would have to be glued and wired, then you could even offer the thing as a kit …


Related Posts